
Garden planters are everywhere—patios, decks, garden beds, even old clay pots tucked away in garages. One of my favorite backyard projects is turning those unused containers into simple water fountains.
I’ve built dozens of small water features using nothing more than a planter, a pump, and a few rocks. The results are surprisingly good. The gentle sound of moving water attracts birds, adds ambiance to a patio, and makes a yard feel more alive.
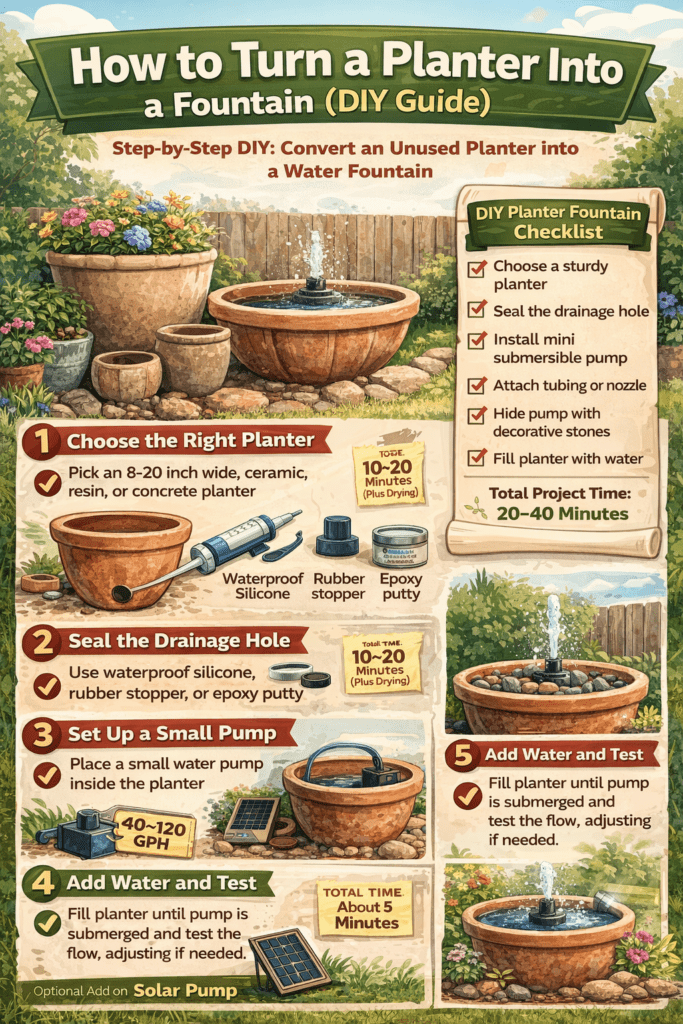
The best part? This is a beginner-friendly DIY project that usually takes less than an hour.
Let’s walk through exactly how to convert a planter into a fountain, what mistakes to avoid, and how to make the setup last.
Why Planters Make Great DIY Fountains
Many planters already have the features needed for a small water fountain:
- Durable outdoor material
- Decorative shape
- Built-in drainage hole
- Compact size perfect for patios
Instead of buying an expensive pre-made fountain, you can often create something just as attractive using materials you already have.
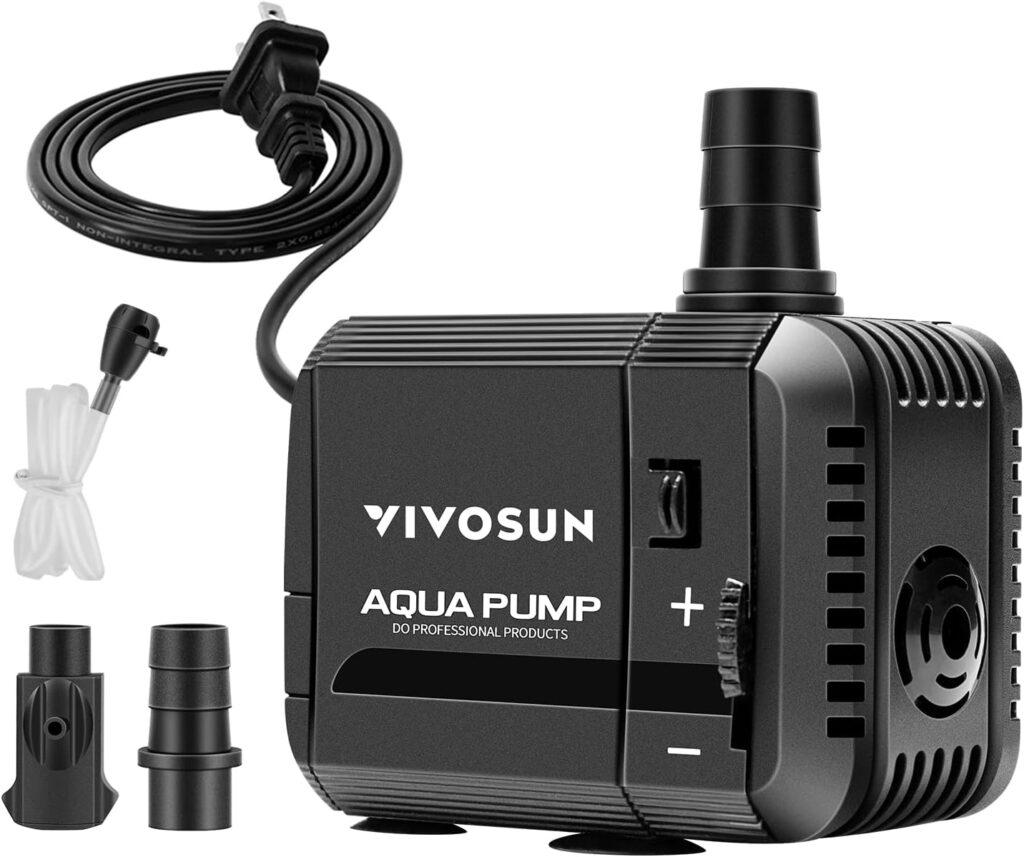
Small container fountains also work well with mini submersible pumps, which are inexpensive and easy to maintain.
If you want to see pump recommendations, check:
https://www.birdbathbubbler.com/mini-pump-for-small-backyard-pond/
Step-by-Step: Convert a Planter Into a Fountain
Step 1: Choose the Right Planter
Almost any container can work, but some are better than others.
Best planter materials
- Ceramic
- Glazed pottery
- Resin
- Concrete
Avoid thin plastic containers because they flex and can leak over time.
Ideal size
8–20 inches wide works well for small fountains.
Time to complete: 2 minutes
Step 2: Seal the Drainage Hole
Most planters have a drainage hole, which must be sealed.
You can use:
- waterproof silicone sealant
- rubber stopper
- epoxy putty
Let the seal cure completely before adding water.
Time to complete: 10–20 minutes (plus drying time)
Step 3: Install a Small Submersible Pump
Place a small pump in the bottom of the planter. Mini pumps usually range between 40–120 GPH (gallons per hour) for small fountains. Attach a short section of tubing to the pump outlet.
For help choosing the right size pump, see:
https://www.birdbathbubbler.com/mini-pump-for-small-backyard-pond/
Step 4: Hide the Pump With Stones
To make the fountain look natural:
- Place large stones around the pump
- Cover tubing with decorative pebbles
- Leave space for water flow
River rocks or lava rocks work well. This step transforms a basic container into a natural-looking water feature.
Time to complete: 5 minutes
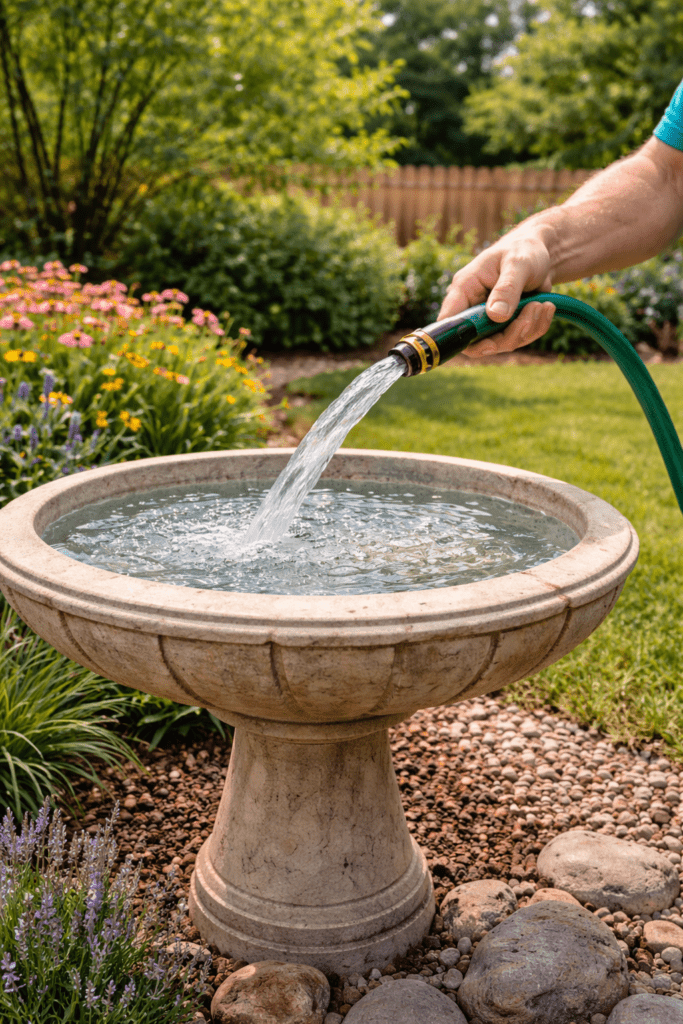
Step 5: Add Water and Test
Fill the planter with water until the pump is fully submerged. Plug the pump in and test the flow. If the fountain splashes too much, reduce the pump flow using the adjustable dial.
Time to complete: 2 minutes
Optional Upgrade: Add a Solar Fountain Pump
If you don’t want electrical cords, solar pumps can work well in planter fountains. They are especially useful for patios or garden areas without nearby outlets.
You can learn how to install one here:
https://www.birdbathbubbler.com/install-solar-fountain-pump/
Trade-off
Solar fountains only run when sunlight hits the panel.
Design Ideas for Planter Fountains
Once you understand the basic setup, the creative options expand quickly.
Popular styles
Stone bubbling fountain
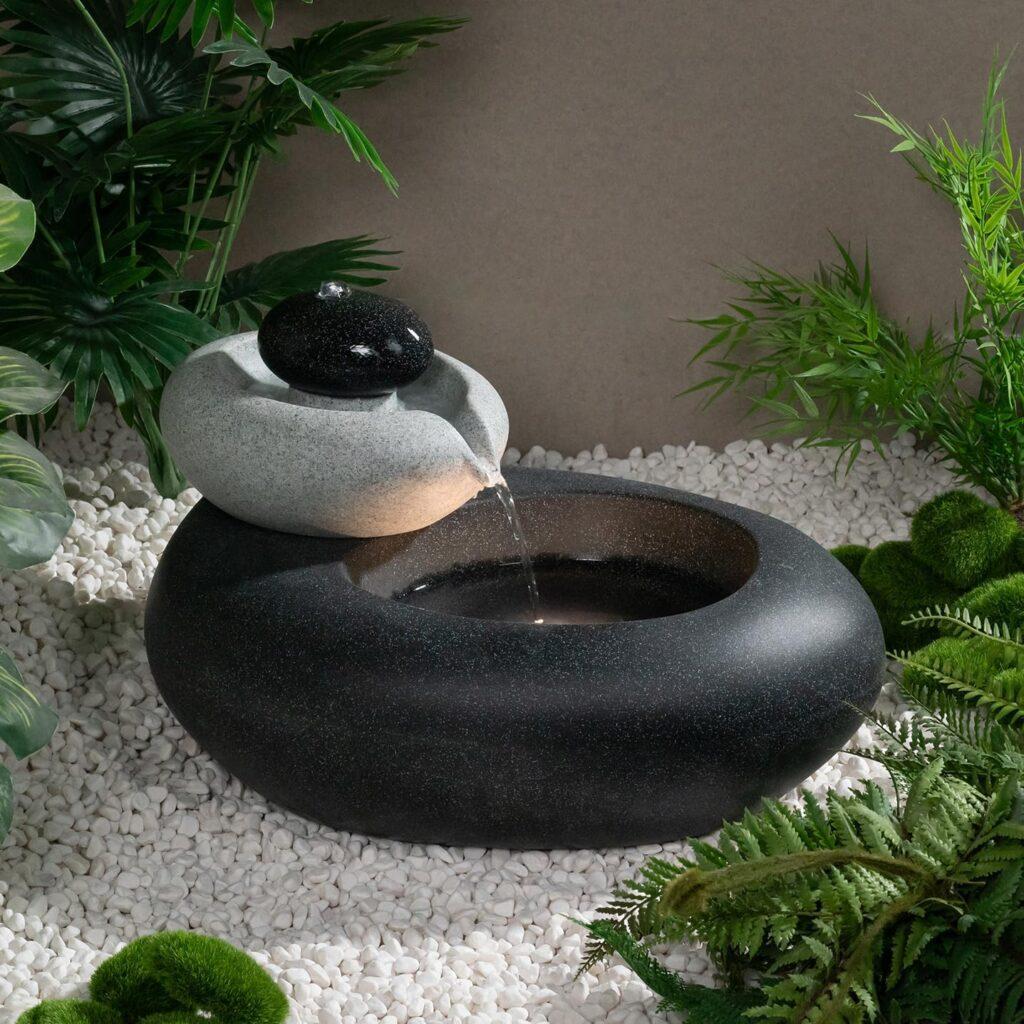
Water bubbles up through stacked stones.
Minimalist bowl with smooth pebbles and gentle bubbling water.
Mini pond fountain
Add floating plants or water lilies.
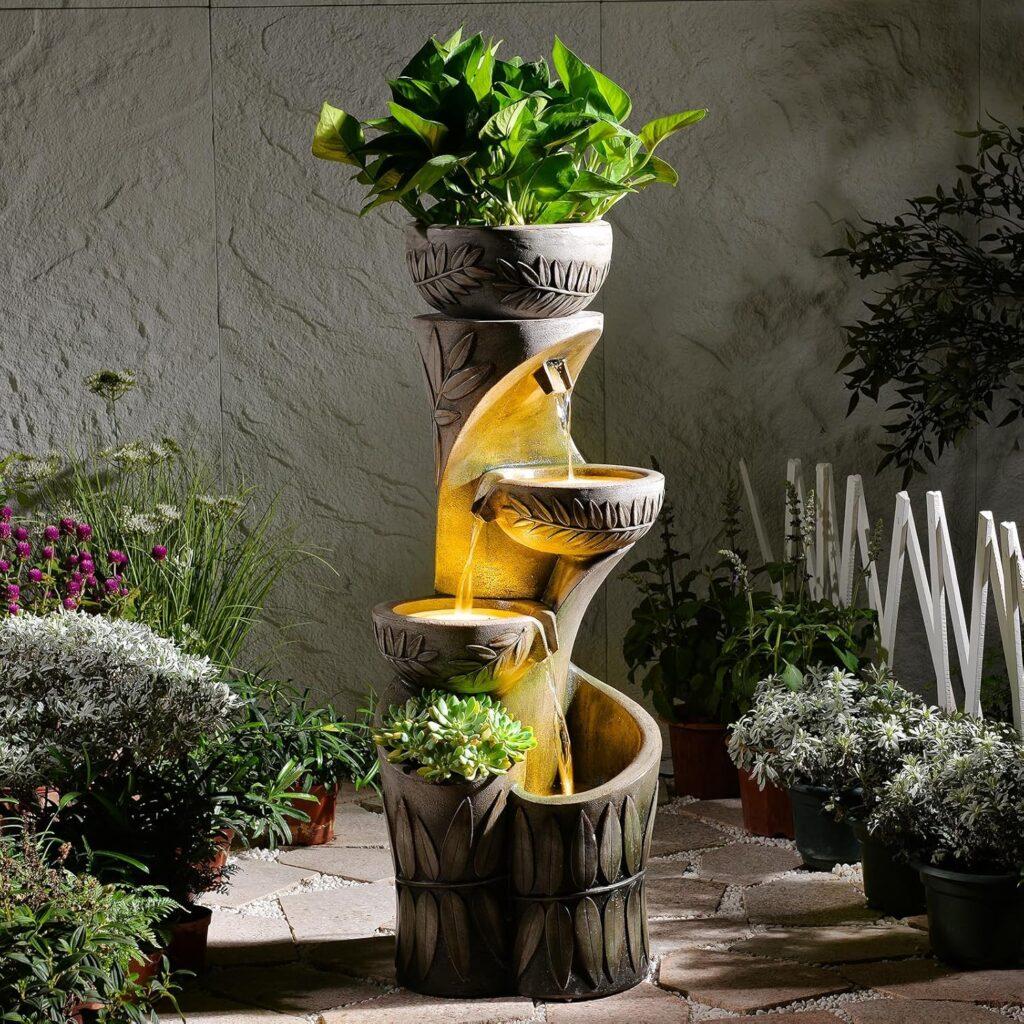
Stack two or three containers for cascading water.
These small water features are perfect for patios, decks, and small gardens.
Trade-Offs and Realistic Expectations
DIY planter fountains are simple, but they’re not completely maintenance-free.
What works well
- inexpensive setup
- relaxing water sound
- attracts birds and pollinators
- easy to build
Limitations
- small pumps require occasional cleaning
- water evaporates quickly in hot weather
- algae may develop in sunny locations
Regular cleaning helps prevent issues.
If algae becomes a problem, see:
https://www.birdbathbubbler.com/how-to-clean-a-solar-water-fountain/

Printable Checklist: Planter Fountain Setup
DIY Planter Fountain Checklist
- Choose a sturdy planter
- Seal the drainage hole
- Install mini submersible pump
- Attach tubing or nozzle
- Hide pump with decorative stones
- Fill planter with water
- Test fountain flow
Time to Complete the Project
| Step | Time |
|---|---|
| Choose planter | 2 minutes |
| Seal drain hole | 10–20 minutes |
| Install pump | 5 minutes |
| Add rocks | 5 minutes |
| Fill and test | 2 minutes |
Total project time: about 20–40 minutes
Frequently Asked Questions
Can any planter be turned into a fountain?
Most containers work as long as they are waterproof and large enough to hold a small pump.
How deep should the water be?
At least 2–3 inches above the pump intake to prevent air from entering the system.
Do planter fountains attract mosquitoes?
Moving water prevents mosquito breeding, which is why fountains are often better than stagnant containers.
How often should the water be changed?
Every 3–7 days depending on weather and debris.
How much does this project cost?
Typical costs:
- mini fountain pump: $10–25
- tubing and rocks: $5–15
Many people already have a suitable planter.
Resources for More Information
National Wildlife Federation – Garden Water Features
https://www.nwf.org/Garden-for-Wildlife
Cornell Lab of Ornithology – Backyard Bird Habitat Tips
https://www.birds.cornell.edu/home/get-involved/10-ways-to-help-birds/
National Audubon Society – Bird Bath Guidance
https://www.audubon.org/news/how-make-birdbath
Final Thoughts
Turning a planter into a fountain is one of the easiest ways to add a water feature to your yard. With just a small pump and a few rocks, you can create something that looks surprisingly professional.
It’s also a great way to repurpose unused garden containers instead of letting them collect dust. Once the fountain starts running, you’ll probably notice birds visiting within days—and the gentle sound of bubbling water quickly becomes one of the most relaxing parts of a backyard.
And like many DIY projects, once you build one, it’s hard to stop. A single planter fountain often turns into two or three around the yard.